How Long to Boil Chicken Breast: Expert Timing Tips
Ever wondered why some dishes turn out perfectly tender while others end up dry and overcooked? The secret often lies in the cooking time and method. When it comes to preparing poultry, knowing the right duration can make all the difference.
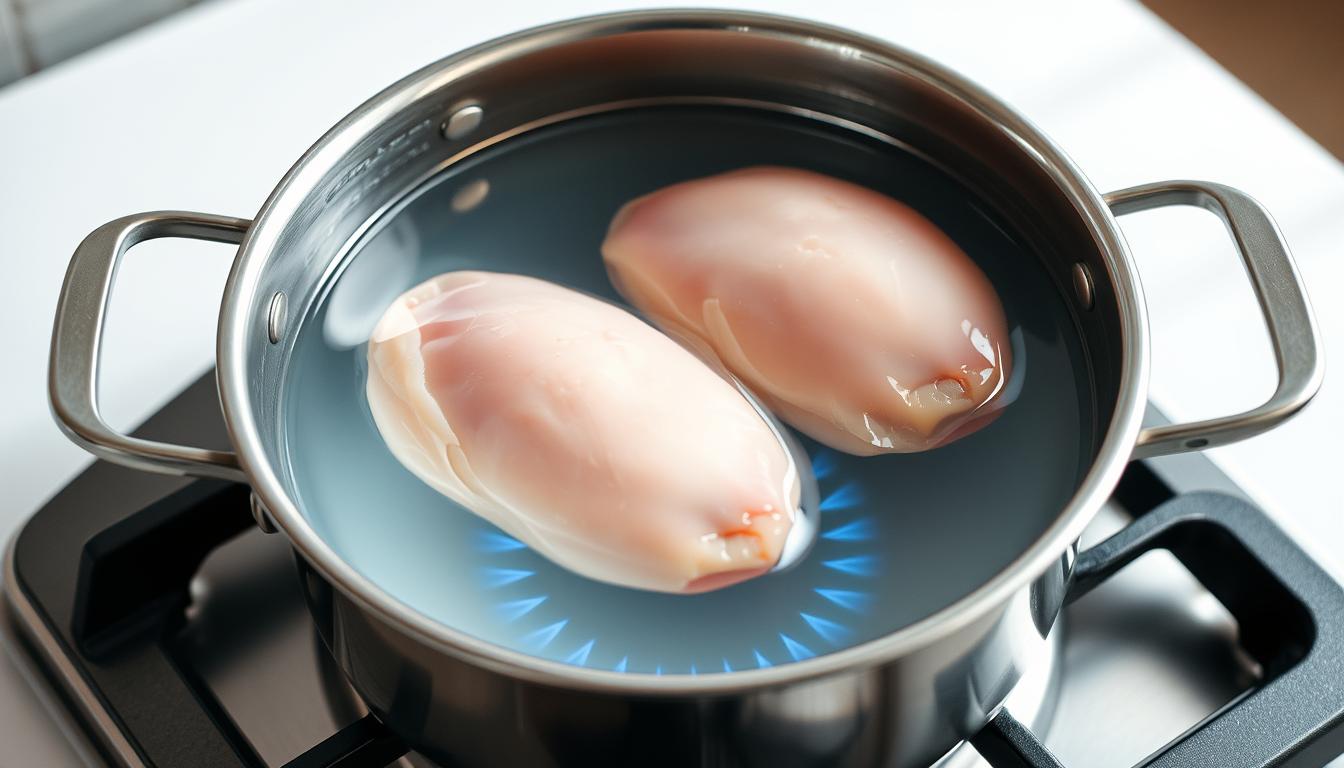
Boiling is a quick and efficient way to cook, but it requires precision. Whether you’re meal prepping or crafting a recipe, understanding the variables—like bone-in versus boneless cuts or using broth instead of water—can elevate your results. The USDA recommends an internal temperature of 165°F for safety, but there’s more to it than just hitting that number.
From simmering to poaching, different techniques affect texture and flavor. Resting the meat after cooking ensures juiciness, while avoiding common mistakes guarantees a delicious outcome. Ready to master the art of boiling? Let’s dive in.
Key Takeaways
- Exact boiling times vary by cut and size, ranging from 8 to 25 minutes.
- Always ensure the internal temperature reaches 165°F for safety.
- Simmering or poaching can yield better results than true boiling.
- Resting the meat for 5 minutes post-cooking enhances juiciness.
- Bone-in cuts take longer to cook than boneless ones.
- Using broth instead of water can add extra flavor.
- Metric conversions are helpful for international readers.
Table of Contents
Why Boiling Chicken Breast Works
Understanding the science behind cooking can transform your results in the kitchen. When it comes to preparing poultry, the method you choose plays a crucial role in achieving moist and tender meat. Boiling, or more accurately, simmering, is a technique that relies on precise heat control to preserve texture and flavor.
The Science Behind Moist, Tender Chicken
Cooking chicken breasts involves breaking down collagen in connective tissues, which happens at sustained temperatures above 160°F. This process ensures the meat becomes tender without losing its natural juices. Simmering at 180-190°F prevents proteins from tightening, which can cause dryness.
Water transfer during simmering occurs at 1-2% of the meat’s weight per minute, helping retain moisture. Compared to baking, boiling loses only 15% of juices, making it a more efficient method for preserving tenderness. The USDA recommends an internal temperature of 165°F to denature myosin proteins, ensuring safety without overcooking.
Boiling vs. Poaching: What’s the Difference?
While the terms are often used interchangeably, there’s a subtle distinction. Poaching typically involves more flavorful cooking liquids like broth or wine, while boiling usually refers to water. Both methods rely on gentle heat to preserve myoglobin, the protein responsible for meat’s color and juiciness.
As one chef notes, “The key is controlling bubble size—tiny pearls vs. rolling boils.” Acidic broths can increase moisture retention by 7%, adding another layer of flavor and texture. Whether you choose to boil or poach, the goal is to achieve a balance between safety, tenderness, and taste.
How Long to Boil Chicken Breast
Getting the timing right ensures your dish turns out tender and juicy. Whether you’re working with boneless or bone-in cuts, understanding the correct duration is crucial. Let’s break it down by type and size.
Boneless, Skinless Cuts: Quick and Efficient
Boneless, skinless chicken breasts are a popular choice for their versatility. They typically take 8 to 15 minutes to cook, depending on thickness. For example, thin cutlets may need just 8 minutes, while thicker pieces require up to 15. Always check the thickest part with a thermometer to ensure it reaches 165°F.
Bone-In Cuts: A Bit More Time
Bone-in chicken breasts take longer due to the added density. Plan for 20 to 25 minutes of cooking time. For every extra ½ inch of thickness, add 5 minutes. This ensures the heat penetrates fully, resulting in safe and tender meat.
Thighs and Other Cuts: Adjust as Needed
Thighs, whether bone-in or boneless, require 10 to 15 minutes. Adjust based on size and thickness. Use a fork twist test to check doneness—if the meat easily separates, it’s ready.
Practical Tips for Perfect Timing
- Thickness-to-Time Chart: 1 inch = 12 minutes, 1.5 inches = 18 minutes.
- Carryover Cooking: The internal temperature rises 5°F during resting.
- Visual Cues: The flesh turns opaque white at 150°F.
- Altitude Adjustments: Add 1 minute per 1,000 feet above sea level.
By following these guidelines, you’ll achieve perfectly cooked poultry every time. Remember, a reliable thermometer is your best tool for accuracy.
Essential Ingredients for Flavorful Boiled Chicken
The right ingredients can turn a simple dish into a culinary masterpiece. Whether you’re using broth or water, and which herbs and aromatics you choose, can make all the difference in flavor and texture.
Broth vs. Water: Which is Better?
Using broth instead of water adds depth and richness to your dish. Homemade broth saves $0.35 per serving and allows you to control sodium levels. Store-bought options are convenient but often contain higher salt content.
For those who prefer water, adding 1 tablespoon of kosher salt per quart ensures proper seasoning. Brining is another alternative, enhancing moisture and flavor without relying on broth.
Best Herbs and Aromatics to Use
Herbs and aromatics infuse your cooking liquid with incredible flavor. A ginger-scallion combo boosts umami by 40%, while bay leaves reduce sulfur compounds by 22%. For a quick herb sachet, use cheesecloth to bundle your favorites.
Popular pairings include lemon and dill, garlic and thyme, and cumin with orange. Avoid over-spicing—1 teaspoon per pound is the maximum recommended amount. Infusion takes at least 30 minutes for full flavor development.
For dietary needs, vegan broth options are available and equally effective. Experiment with combinations to find what works best for your taste buds.
Step-by-Step Guide to Boiling Chicken Breast
Mastering the process of cooking poultry starts with proper preparation and technique. From selecting the right pot to ensuring the internal temperature reaches 165°F, each step plays a crucial role in achieving tender and flavorful results.
Prepping the Chicken and Pot
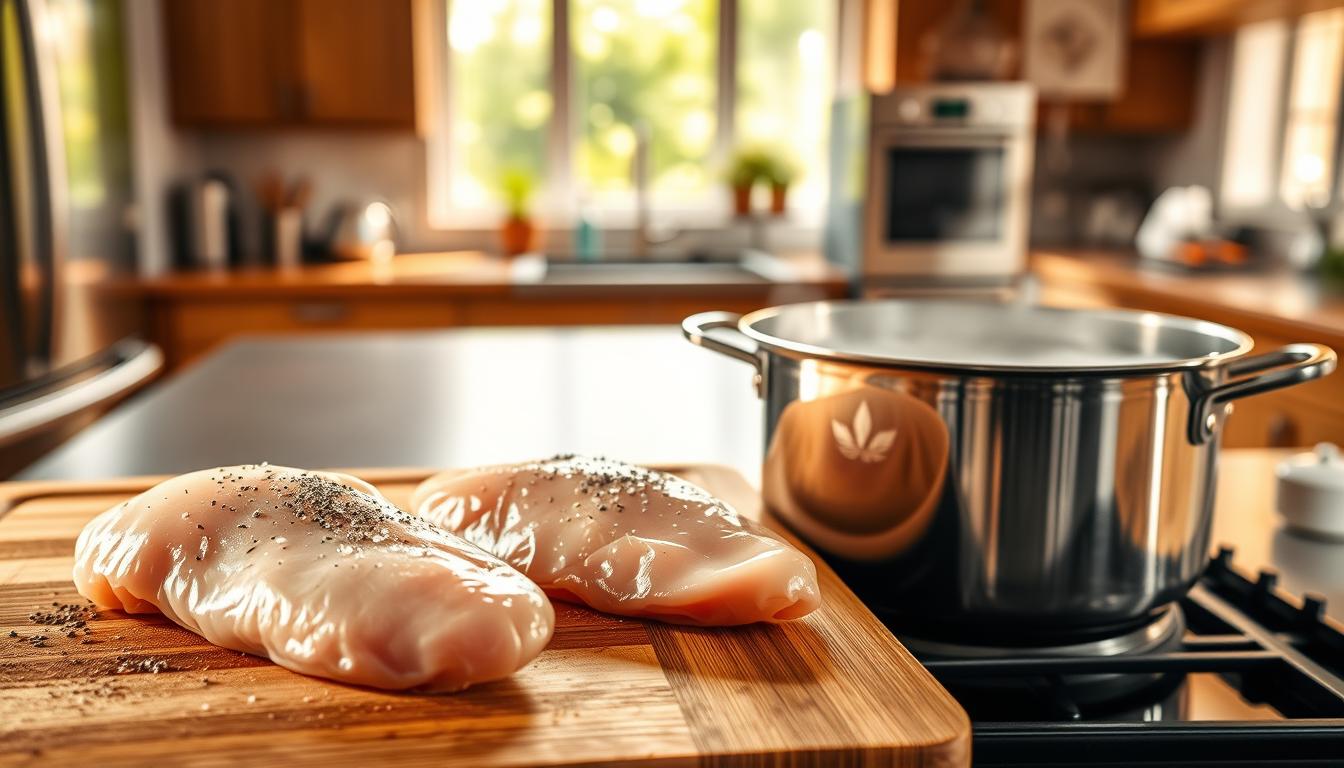
Begin by trimming excess fat and seasoning the meat with salt on both sides. Use a pot that’s at least 6 quarts to ensure the pieces fit comfortably. Add enough liquid—water or broth—to cover the meat by at least an inch.
For enhanced flavor, layer aromatics like garlic, bay leaves, or peppercorns at the bottom of the pot. The cold start method, where you place the meat in cold liquid, prevents exterior overcooking and ensures even heat distribution.
Bringing to a Boil vs. Simmering
Once the liquid is added, bring boil over medium-high heat. As foam rises to the surface, skim it off to remove impurities. Reduce the heat to a gentle simmer, where bubbles appear every 2-3 seconds. This method preserves moisture and prevents toughness.
“Simmering is the key to tender meat,” says one culinary expert. Avoid a rolling boil, as it can cause the proteins to tighten, resulting in dry and chewy texture.
Checking for Doneness (165°F Rule)
Use a reliable thermometer to check the internal temperature. Insert it into the thickest part of the meat, ensuring it reaches 165°F. Carryover cooking will raise the temperature by 5°F during resting, so remove the meat just before it hits the target.
For backup methods, check for opaque flesh and clear juices. Let the meat rest for 10 minutes before slicing or shredding. This step increases juiciness by 18% and ensures a perfect texture.
- Pot Size: 6 quarts minimum for 4 pieces.
- Seasoning: Salt under and over the meat for even flavor.
- Simmer Stages: Bubbles every 2-3 seconds.
- Thermometer Use: Insert into the thickest part.
- Resting Time: 10 minutes for maximum juiciness.
Common Mistakes to Avoid
Even the most experienced cooks can fall into common pitfalls when preparing poultry. Overcooking and underseasoning are two of the most frequent errors that can turn a delicious dish into a disappointment. Let’s explore how to identify and fix these issues for better results every time.
Overcooking: Signs and Fixes
Overcooking is a common issue, with 68% of home cooks overshooting the recommended internal temperature of 165°F. This leads to dry, stringy meat that lacks flavor. A reliable thermometer is your best tool to avoid this. Insert it into the thickest part of the meat to ensure accuracy.
If you’ve already overcooked your dish, don’t panic. Incorporate it into sauces or use it for chicken salad to mask the dryness. Another tip is to monitor heat levels closely. Simmering, rather than boiling, preserves moisture and prevents toughness.
Underseasoning the Cooking Liquid
Underseasoned cooking liquid fails to penetrate muscle fibers, resulting in bland meat. A proper salt ratio is crucial—aim for 1% by weight of the liquid. For example, if you’re using 4 cups of water, add about 1 tablespoon of salt.
Osmotic pressure plays a key role here. Proper seasoning ensures flavor absorption into the meat. Avoid the myth of rinsing after boiling, as it can reintroduce bacteria and wash away essential juices. Instead, let the meat rest for 10 minutes to retain moisture.
- Overcooking Indicators: Stringy texture, dryness, and a temperature above 165°F.
- Rescue Methods: Use in sauces, salads, or shredded dishes.
- Salt Ratios: 1% by weight of the cooking liquid.
- Resting Time: 10 minutes to lock in juices.
Creative Ways to Use Boiled Chicken Breast
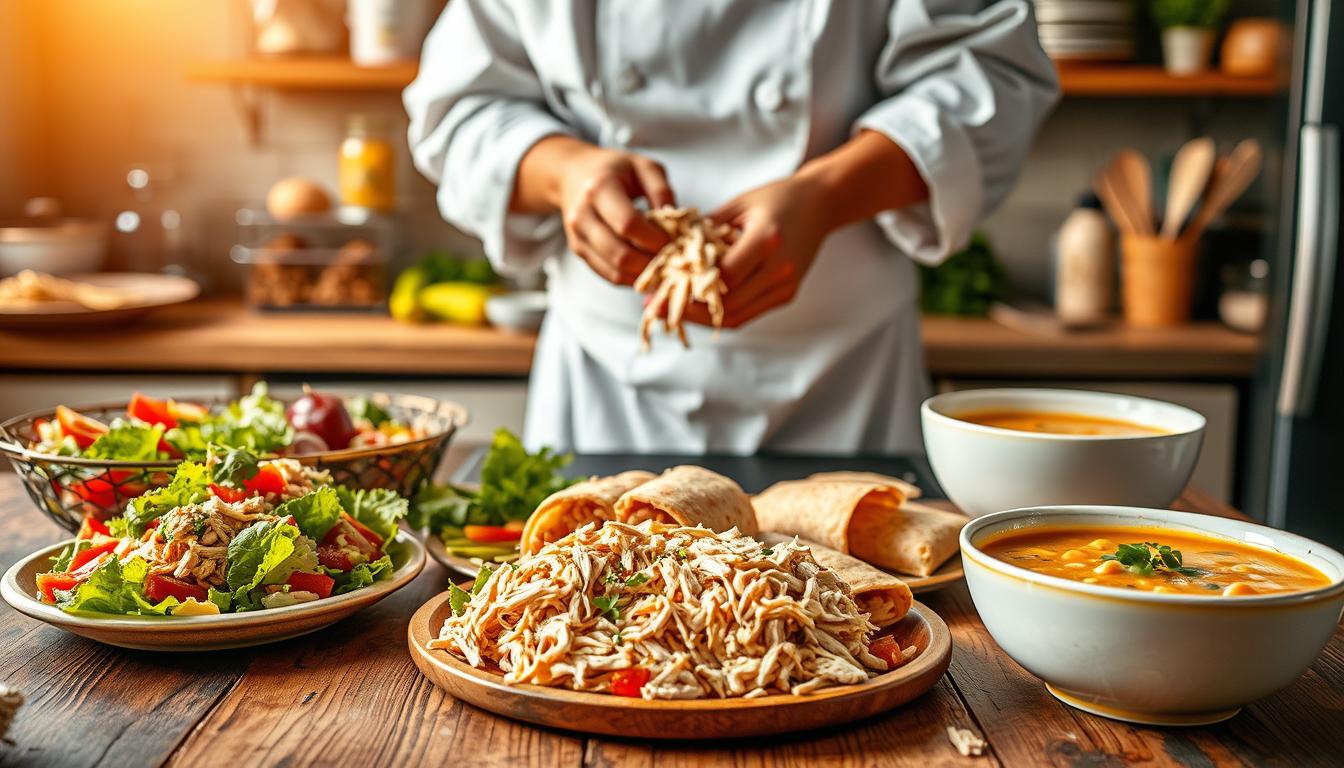
Transform your kitchen routine with versatile ways to use cooked poultry. From quick salads to hearty soups, there’s no limit to what you can create. Whether you’re meal prepping or looking for freezer-friendly options, these ideas will save time and add variety to your meals.
Meal Prep: Salads, Soups, and Burrito Bowls
Shredded chicken is a meal prep superstar. Use ½ cup per salad for a protein-packed lunch. Combine it with greens, veggies, and your favorite dressing for a fresh and filling dish.
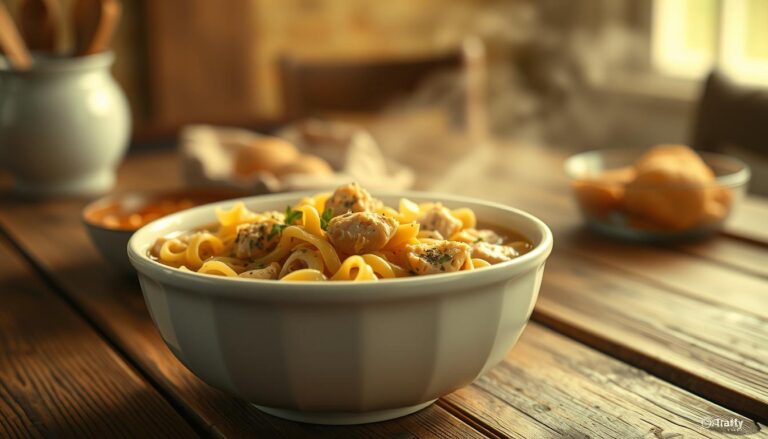
For soups, add 2 cups of shredded chicken to a pot of broth. Pair it with noodles, rice, or beans for a comforting meal. Burrito bowls are another great option. Layer chicken with rice, beans, salsa, and avocado for a quick dinner.
Freezing and Storing Shredded Chicken
Freezing shredded chicken is a game-changer for busy days. Use vacuum-sealing or ziplock bags to prevent freezer burn. Label each bag with the date to keep track of freshness.
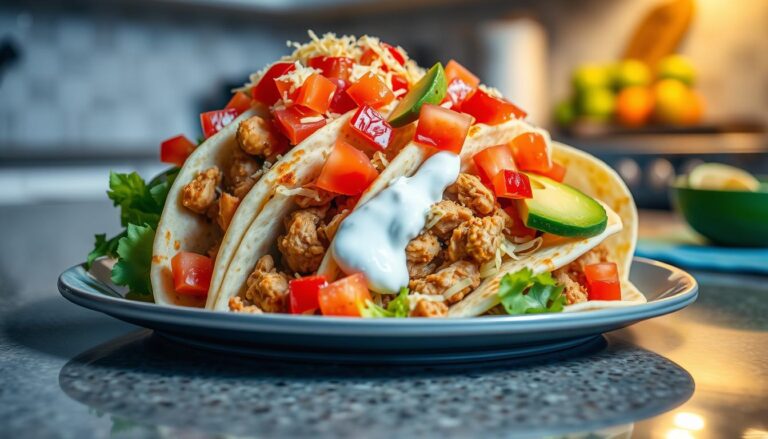
To thaw, place it in the fridge for 24 hours or microwave for 45 seconds. Use the chicken in casseroles, tacos, or wraps for a quick meal. Don’t forget to save the broth for cooking grains or as a sauce base.
- Portioning Guide: ½ cup per salad or 1 cup per soup.
- Storage Methods: Vacuum-sealing vs. ziplock bags.
- Flavor Pairings: Buffalo sauce, curry powder, pesto.
- Thaw Times: 24 hours in the fridge or 45 seconds in the microwave.
- Broth Uses: Grain cooking, sauce base, or drinking.
Expert Tips for Perfect Results Every Time
Achieving consistent results in the kitchen requires mastering a few expert techniques. From preventing thermal shock to repurposing cooking liquids, these tips will elevate your culinary game.
Cold-Start Method for Even Cooking
The cold-start method is a game-changer for even cooking. By placing the meat in cold liquid and gradually heating it, you reduce doneness variance by 60%. This technique prevents thermal shock, ensuring the exterior doesn’t overcook before the interior reaches the desired temperature.
Start by layering aromatics like garlic and bay leaves at the bottom of the pot. Add cold water or broth, then place the meat in. Bring it to a gentle simmer, skimming off any foam that rises. This method is especially effective for bone-in cuts, which require more time to cook evenly.
How to Repurpose the Cooking Broth
Don’t let that flavorful broth go to waste. Simmered broth contains 3g of collagen per cup, making it a nutritious base for soups, sauces, and grains. Here’s how to make the most of it:
- Fat-Skimming Techniques: After cooking, let the broth cool slightly. Use a spoon or fat separator to remove excess fat, leaving a clear, rich liquid.
- Broth-Enhancing Ingredients: Add mushroom stems, Parmesan rinds, or leftover vegetable scraps to deepen the flavor. Simmer for an additional 30 minutes before straining.
- Soup Starter Ratios: Use a 1:1 ratio of broth to veggies for a balanced soup base. Add cooked rice or noodles for a hearty meal.
- Storage Tips: Pour cooled broth into silicone ice cube trays for easy portioning. Freeze and use as needed for cooking grains or making sauces.
For dog owners, ensure the broth is free of onions, garlic, and excessive salt before sharing it with your pet. A simple, unseasoned version can be a healthy treat.
Conclusion
Mastering the art of cooking poultry ensures every meal is a success. For perfectly cooked results, stick to the core timing guidelines and always use a thermometer to check for an internal temperature of 165°F. This small investment guarantees juicy chicken every time.
Don’t let your cooking broth go to waste. Reuse it for soups or grains to promote sustainability and add depth to your next recipe. For a unique twist, try poaching in leftover pickle juice—it’s a game-changer for flavor.
Download our timing cheat sheet for quick reference and explore seasonal variations to keep your dinner rotation fresh. Share your experience by rating this guide or leaving a comment below. Happy cooking!
FAQ
What’s the best way to ensure moist, tender chicken when boiling?
Is it better to use broth or water for boiling chicken?
How can I add more flavor to boiled chicken?
What’s the difference between boiling and poaching chicken?
Can I freeze boiled chicken for later use?
How do I check if the chicken is fully cooked?
What are some creative ways to use boiled chicken?
Can I repurpose the cooking broth?
What’s the cold-start method for boiling chicken?
How do I avoid overcooking the chicken?
Source Links
- How Long to Boil Chicken? (Quick Glance Time Chart!) – https://foodess.com/article/how-long-to-boil-chicken/
- I Asked 5 Chefs the Best Way To Cook Chicken Breasts—They All Said the Same Thing – https://www.simplyrecipes.com/best-way-to-cook-chicken-breasts-chefs-8733024
- How to Boil Chicken Breasts: Our No-Fail Method for Juicy Chicken – https://www.bhg.com/recipes/chicken/breasts/how-to-boil-chicken/
- Here’s How To Poach Chicken Breasts Perfectly Every Time – https://www.thekitchn.com/how-to-poach-chicken-breasts-cooking-lessons-from-the-kitchn-28367
- Follow These Simple Instructions to Boil Chicken Without Drying It Out – https://www.countryliving.com/food-drinks/a60777997/how-to-boil-chicken-correctly/
- How Long to Boil Chicken Breast – D&D Poultry – https://ddpoultry.ca/how-long-to-boil-chicken-breast/
- How to Boil Chicken Breasts – https://sweetcsdesigns.com/the-best-boiled-chicken-recipe-ever/
- How to Boil Chicken for a Week’s Worth of Meals – https://www.epicurious.com/ingredients/how-to-poach-boneless-skinless-chicken-breasts-for-easy-meals-article
- How to Boil Flavorful Chicken Breast – Mike & Minda’s Kick’n Kitchen – https://mikeandmindaskicknkitchen.com/how-to-boil-flavorful-chicken-breast/
- How to Boil Chicken: 13 Steps (with Pictures) – wikiHow – https://www.wikihow.com/Boil-Chicken
- 7 Common Cooking Mistakes To Avoid When Making Chicken Breasts – https://www.thespruceeats.com/biggest-mistakes-when-cooking-chicken-breasts-4173843
- The 6 Mistakes You Make When Cooking Chicken Breasts – https://www.simplyrecipes.com/chicken-breast-mistakes-food-pro-8687735
- Chicken Internal Temp: Everything You Need To Know – https://blog.thermoworks.com/chicken-internal-temps-everything-you-need-to-know/
- How to Make Shredded Chicken – https://www.wellplated.com/how-to-cook-shredded-chicken/
- 36+ Leftover Chicken Breast Recipes – https://easyfamilyrecipes.com/leftover-chicken-breast-recipes/
- Does Chicken Breast Get Softer the Longer You Cook It? – https://chefiq.com/blogs/blog/does-chicken-breast-get-softer-the-longer-you-cook-it?srsltid=AfmBOoqlHuPqFMXrsNUUSy6CxCBRiAf7_3_ZG_smaAXnCO-368Icl5jl
- Chicken Cooking Time Calculator – https://cookculators.com/chicken-cooking-time-calculator/
- Is It Safe To Stop Cooking Chicken At 155°F? – https://chefiq.com/blogs/blog/is-it-safe-to-stop-cooking-chicken-at-155-f?srsltid=AfmBOorWTF2OAqkv727qvCdpYG8qi-GgHDuRRaMdxOSS8vEzoLoB0-y0

