Boiled Chicken Breast Timing: Your Quick Guide
Have you ever wondered why timing is crucial when preparing chicken? Getting it right ensures not only safety but also the perfect texture and flavor. Whether you’re meal prepping or cooking for dinner, mastering the process can make all the difference.
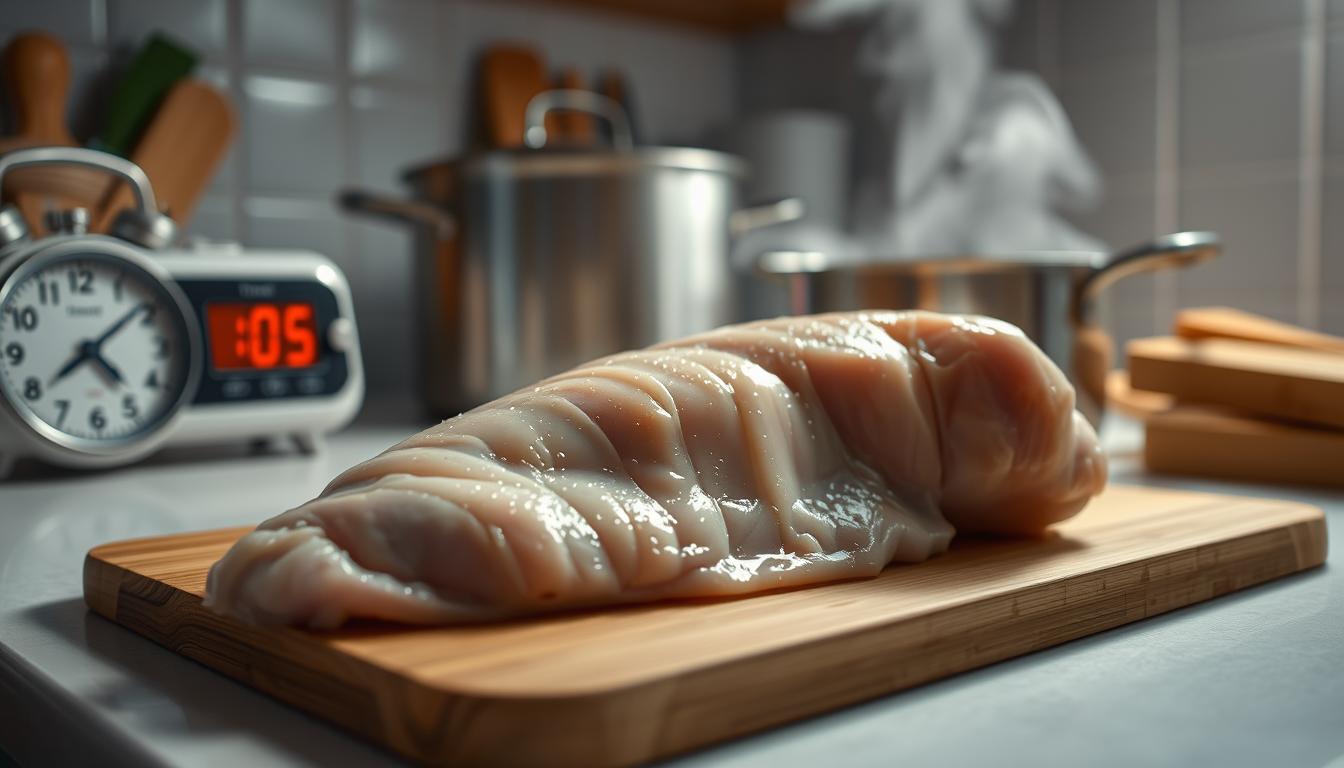
Boiling is a simple yet effective method for cooking chicken. It retains moisture, making the meat tender and juicy. Plus, it’s versatile—use the results in salads, soups, or sandwiches. But achieving perfection requires precision.
The USDA recommends cooking chicken to an internal temperature of 165°F. This ensures it’s safe to eat while maintaining its quality. Timing varies based on factors like thickness and whether the meat is boneless or bone-in. Let’s explore how to get it just right.
Key Takeaways
- Boiling keeps chicken moist and tender, ideal for meal prep.
- Always aim for an internal temperature of 165°F for safety.
- Boneless breasts typically take about 15 minutes to cook.
- Bone-in breasts may require 20-25 minutes for thorough cooking.
- Let the chicken rest for 3 minutes after boiling for best results.
Table of Contents
How Long to Boil Chicken Breast for Perfect Results
Achieving the perfect texture in chicken depends on precise timing. Whether you’re using skinless chicken breasts or bone-in cuts, understanding the factors that influence cooking time is essential. Let’s break it down.
Why Timing Matters for Tender Chicken
Timing ensures the meat reaches the ideal internal temperature of 165°F. This guarantees safety while keeping the chicken moist and tender. Overcooking can lead to dry, rubbery results, so monitoring the process is key.
Key Factors Affecting Cooking Time
Several elements impact how long it takes to cook chicken thoroughly. The thickness of the meat, whether it’s bone-in or boneless, and even the size of your pot play a role. Here’s a quick guide:
| Cut | Cooking Time |
|---|---|
| Thin cutlets | 8 minutes |
| Large boneless breasts | 15 minutes |
| Bone-in breasts | 20 minutes |
| Bone-in thighs | 15 minutes |
| Whole chicken | 45 minutes |
Bone-in cuts take longer because the bone slows heat penetration. Similarly, thicker pieces require more time to cook evenly. Always use a meat thermometer to check the thickest part of the meat for accuracy.
Altitude also affects boiling temperatures. At higher elevations, water boils at a lower temperature, which can extend cooking time. Adjust your method accordingly to ensure consistent results.
Finally, avoid overcrowding the pot. This ensures even heat distribution and prevents the meat from becoming rubbery. Reduce heat to a gentle simmer once the liquid starts boiling for the best outcome.
Preparing Your Chicken for Boiling
The foundation of a great chicken dish starts with proper preparation. Whether you’re using skinless chicken breasts or bone-in pieces, the way you handle the meat impacts the final result. Let’s dive into the essentials.
Choosing the Right Cuts: Skinless vs. Bone-In
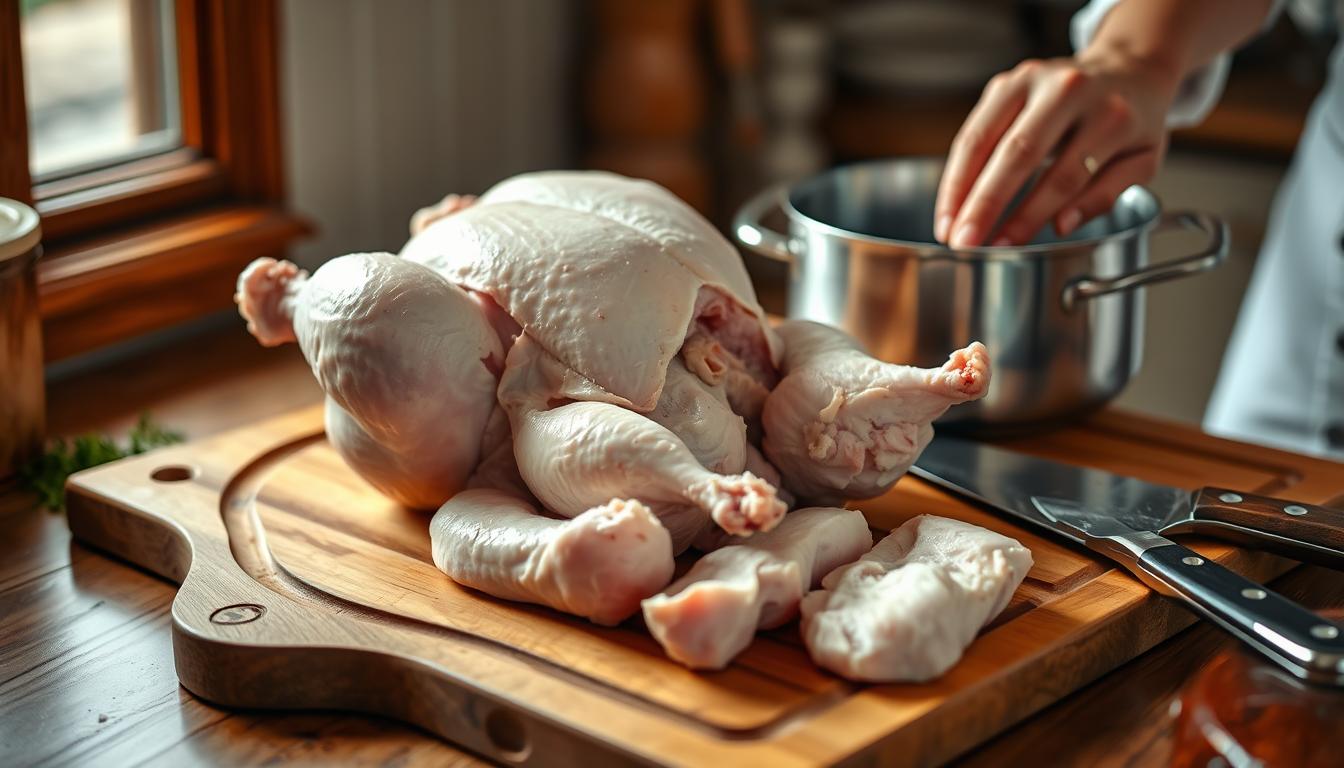
Selecting the right cut is crucial. Skinless chicken breasts are lean and cook faster, making them ideal for quick meals. Bone-in pieces, like thighs or breasts, add extra flavor and moisture but require more time. Consider your recipe and cooking goals when choosing.
Essential Ingredients for Flavorful Poaching
Enhance your cooking liquid with simple yet effective ingredients. Use 1 tablespoon of kosher salt per quart of water for seasoning. Add aromatics like garlic, bay leaves, or peppercorns for depth. Fresh herbs, citrus slices, or ginger can elevate the flavor even further.
Here’s a quick guide to flavor combinations:
| Ingredient | Flavor Profile |
|---|---|
| Garlic + Rosemary | Savory and aromatic |
| Ginger + Scallions | Bright and zesty |
| Lemon + Thyme | Fresh and tangy |
Using chicken broth instead of water adds richness and nutrients. Cold water starts ensure even cooking, while a heavy-bottomed pot prevents scorching. Trim excess fat and pat the meat dry before placing it in the pot for consistent results.
For batch cooking, portion the meat into smaller pieces. This ensures quicker cooking and easier storage. Brining is another option to lock in moisture, especially for lean cuts like skinless chicken breasts.
With these tips, you’re ready to prepare your chicken for boiling. Proper preparation sets the stage for a delicious and satisfying meal.
Step-by-Step Guide to Boiling Chicken Breast
Mastering the art of boiling chicken requires attention to detail and the right techniques. Follow these steps to ensure tender, flavorful results every time.
Starting with Cold Water for Even Cooking
Begin by placing your chicken in a pot and covering it with cold water. This method prevents the exterior from overcooking before the interior reaches the desired temperature. Add a generous pinch of salt to season the meat from the inside out.
Adjusting Heat from Boil to Simmer
Bring the water to a rolling boil, then reduce the heat to maintain a gentle simmer. The ideal simmering temperature is between 180-190°F. This ensures the chicken cooks evenly without becoming tough or rubbery.
Checking Doneness with a Thermometer
Use a meat thermometer to check the internal temperature of the thickest part of the chicken. It should read 165°F for safe consumption. Once done, let the chicken rest for 10 minutes to allow the juices to redistribute.
For clearer broth, skim off any foam that rises to the surface during cooking. If you’re using bone-in pieces, remember they may take slightly longer to cook than boneless cuts. Always adjust your timing based on the size and thickness of the meat.
By following these steps, you’ll achieve perfectly cooked chicken every time. Whether you’re meal prepping or preparing a family dinner, this method guarantees consistent results.
Pro Tips for the Best Boiled Chicken
Elevate your boiled chicken game with these expert tips. Whether you’re aiming for tender meat or rich flavor, these strategies will take your dish to the next level.
How to Prevent Dry, Rubbery Texture
Keeping chicken moist starts with the right method. Avoid overcooking by using a meat thermometer to check the internal temperature. Aim for 165°F for safe, juicy results.
Another trick is to reduce the heat to a gentle simmer once the water boils. This prevents the meat from toughening. Let the chicken rest for 5 minutes after cooking to lock in moisture.
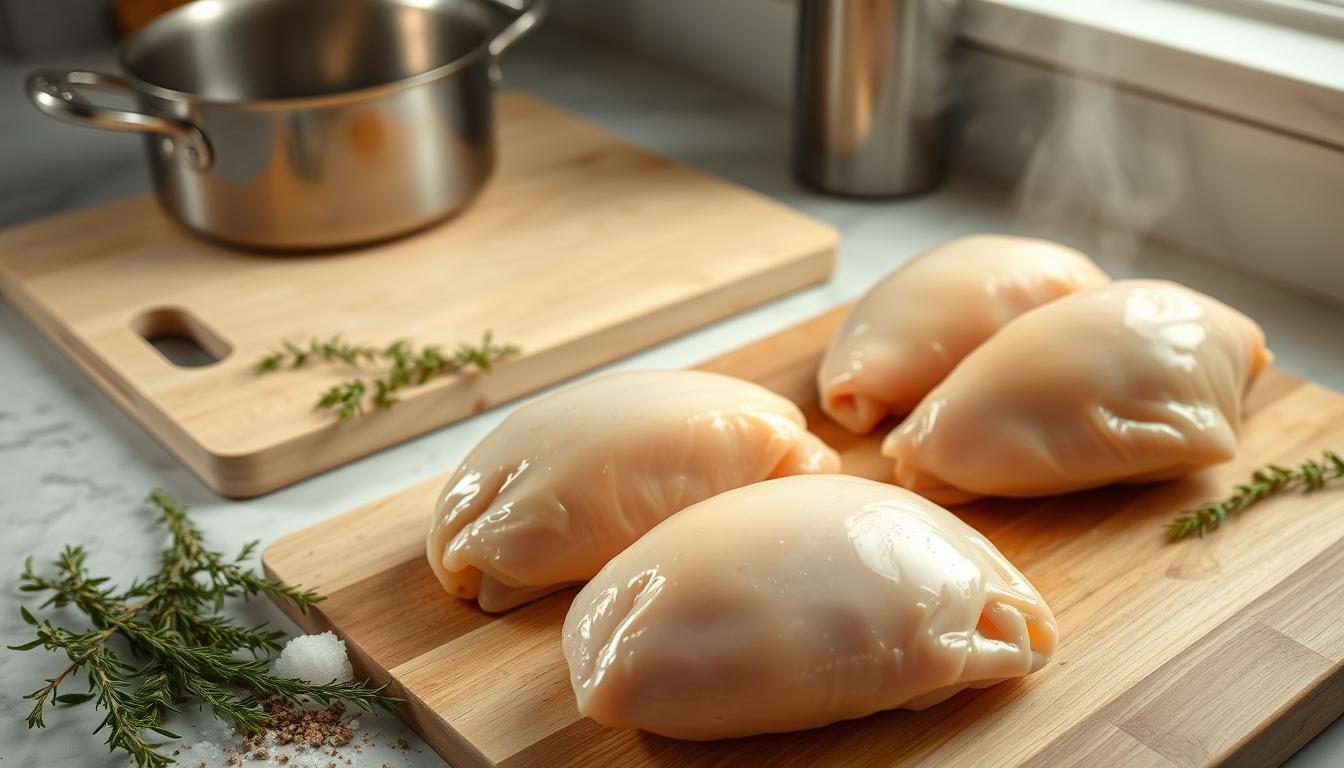
Flavor-Boosting Additions to the Cooking Liquid
Enhance your broth with simple yet impactful ingredients. Add aromatics like garlic, bay leaves, or peppercorns for depth. Fresh herbs, citrus slices, or ginger can elevate the flavor even further.
For a richer taste, use chicken broth instead of water. Acidic components like lemon juice or vinegar add brightness, while umami boosters like soy sauce or mushrooms deepen the profile.
- Brine the chicken with a mix of salt, sugar, and water for extra moisture.
- Shock the cooked pieces in an ice bath if using them in a salad.
- Double-poach the meat for extra tenderness.
With these tips, you’ll create chicken that’s not only safe but also delicious and versatile.
Storing and Using Your Boiled Chicken
Proper storage and creative use of boiled chicken can transform your meals. Whether you’re meal prepping or saving leftovers, knowing how to store and repurpose your cooked meat ensures nothing goes to waste. Let’s explore the best methods to keep your chicken fresh and flavorful.
Proper Refrigeration and Freezing Methods
Store your boiled chicken in an airtight container in the refrigerator for up to 5 days. For longer storage, freezing is the way to go. Cool the meat completely before placing it in freezer-safe bags or containers. It will stay fresh for up to 3 months.
To retain moisture, consider freezing the chicken with some of its cooking liquid. Alternatively, vacuum sealing or layering parchment paper between pieces prevents freezer burn. Label your containers with the date to keep track of freshness.
Creative Ways to Use Leftover Chicken
Leftover chicken is incredibly versatile. Shred it for tacos, slice it for sandwiches, or dice it for salads. Here are some ideas to inspire your next meal:
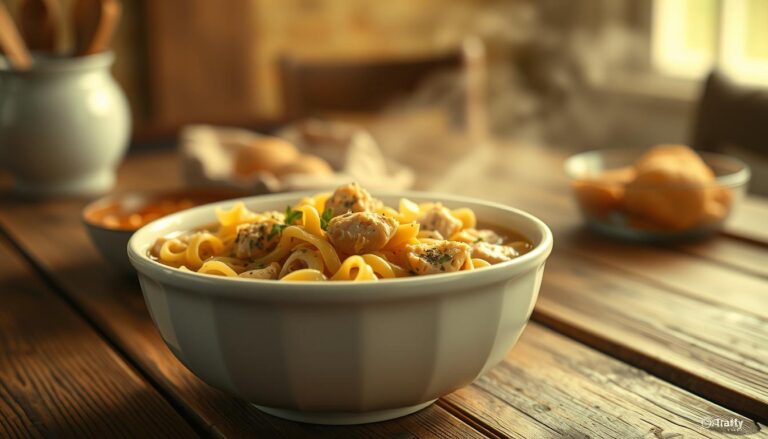
- Protein-packed soups: Add shredded chicken to vegetable or noodle soups for a hearty boost.
- Global cuisine: Use it in stir-fries, curries, or enchiladas for a quick dinner.
- Child-friendly recipes: Turn it into chicken salad or mix it with pasta for a kid-approved dish.
Reheat your chicken gently to retain moisture. Cover it with a damp paper towel in the microwave, or warm it in a pot with a splash of broth. Use leftover cooking liquid as a base for soups or sauces to enhance flavor.
With these tips, you’ll make the most of your boiled chicken, ensuring every piece is delicious and ready to enjoy.
Conclusion
Mastering the art of cooking tender chicken is easier than you think. By following the right method, you can achieve juicy, flavorful results every time. Whether you’re using boneless breasts or bone-in cuts, the key lies in timing and technique.
Keep the simmer gentle to prevent overcooking, and always check the internal temperature for safety. Experiment with herbs, spices, or citrus to elevate the flavor. This versatile approach works for salads, soups, or main dishes.
Remember, letting the meat rest after cooking ensures maximum juiciness. With these tips, you’ll not only save time but also create meals that are both delicious and efficient. Happy cooking!
FAQ
Why is timing important when boiling chicken breast?
What factors affect the cooking time for chicken breast?
Should I use skinless or bone-in chicken for boiling?
What ingredients can enhance the flavor of boiled chicken?
Why start with cold water when boiling chicken breast?
How do I adjust the heat during the cooking process?
How can I check if the chicken is fully cooked?
How can I prevent the chicken from becoming dry?
What are some creative ways to use leftover boiled chicken?
How should I store boiled chicken breast?
Source Links
- How to Boil a Chicken – https://www.pillsbury.com/how-to/prep-method/boil-chicken
- How to Boil Chicken for a Week’s Worth of Meals – https://www.epicurious.com/ingredients/how-to-poach-boneless-skinless-chicken-breasts-for-easy-meals-article
- How Long to Boil Chicken Breast – D&D Poultry – https://ddpoultry.ca/how-long-to-boil-chicken-breast/
- Follow These Simple Instructions to Boil Chicken Without Drying It Out – https://www.countryliving.com/food-drinks/a60777997/how-to-boil-chicken-correctly/
- Here’s How to Poach Chicken so It’s Juicy and Tender – https://www.thepioneerwoman.com/food-cooking/recipes/a62283092/how-to-boil-chicken-recipe/
- How to Boil Chicken Tenderloins – Savas Kitchen – https://savaskitchen.com/how-to-boil-chicken-tenderloins/
- No Rotisserie Chicken? Here’s How To Boil Chicken For Any Recipe – https://www.delish.com/cooking/recipe-ideas/a22826207/how-to-boil-chicken/
- How to Boil Chicken Breasts: Our No-Fail Method for Juicy Chicken – https://www.bhg.com/recipes/chicken/breasts/how-to-boil-chicken/
- How Long to Boil Chicken? (Quick Glance Time Chart!) – https://foodess.com/article/how-long-to-boil-chicken/
- How to Boil Chicken Breasts – https://sweetcsdesigns.com/the-best-boiled-chicken-recipe-ever/
- I Asked 5 Chefs the Best Way To Cook Chicken Breasts—They All Said the Same Thing – https://www.simplyrecipes.com/best-way-to-cook-chicken-breasts-chefs-8733024
- How to Make Shredded Chicken: Easy Boiling Method for Chicken Breast – https://beatthebudget.com/recipe/how-to-make-shredded-chicken-easy-boiling-method-for-chicken-breast/
- How to Boil Chicken – https://feelgoodfoodie.net/recipe/how-to-boil-chicken/
- The 6 Mistakes You Make When Cooking Chicken Breasts – https://www.simplyrecipes.com/chicken-breast-mistakes-food-pro-8687735
- How Long to Boil Chicken Breast? (Best Cooking Times & Tips) – https://www.queerdompls.com/how-long-to-boil-chicken-breast-best-cooking-times-tips/
- How to Tell If Chicken Is Cooked Without Cutting It Open – https://www.madeleinekitchen.com/how-to-tell-if-chicken-is-cooked-without-cutting-it-open/

